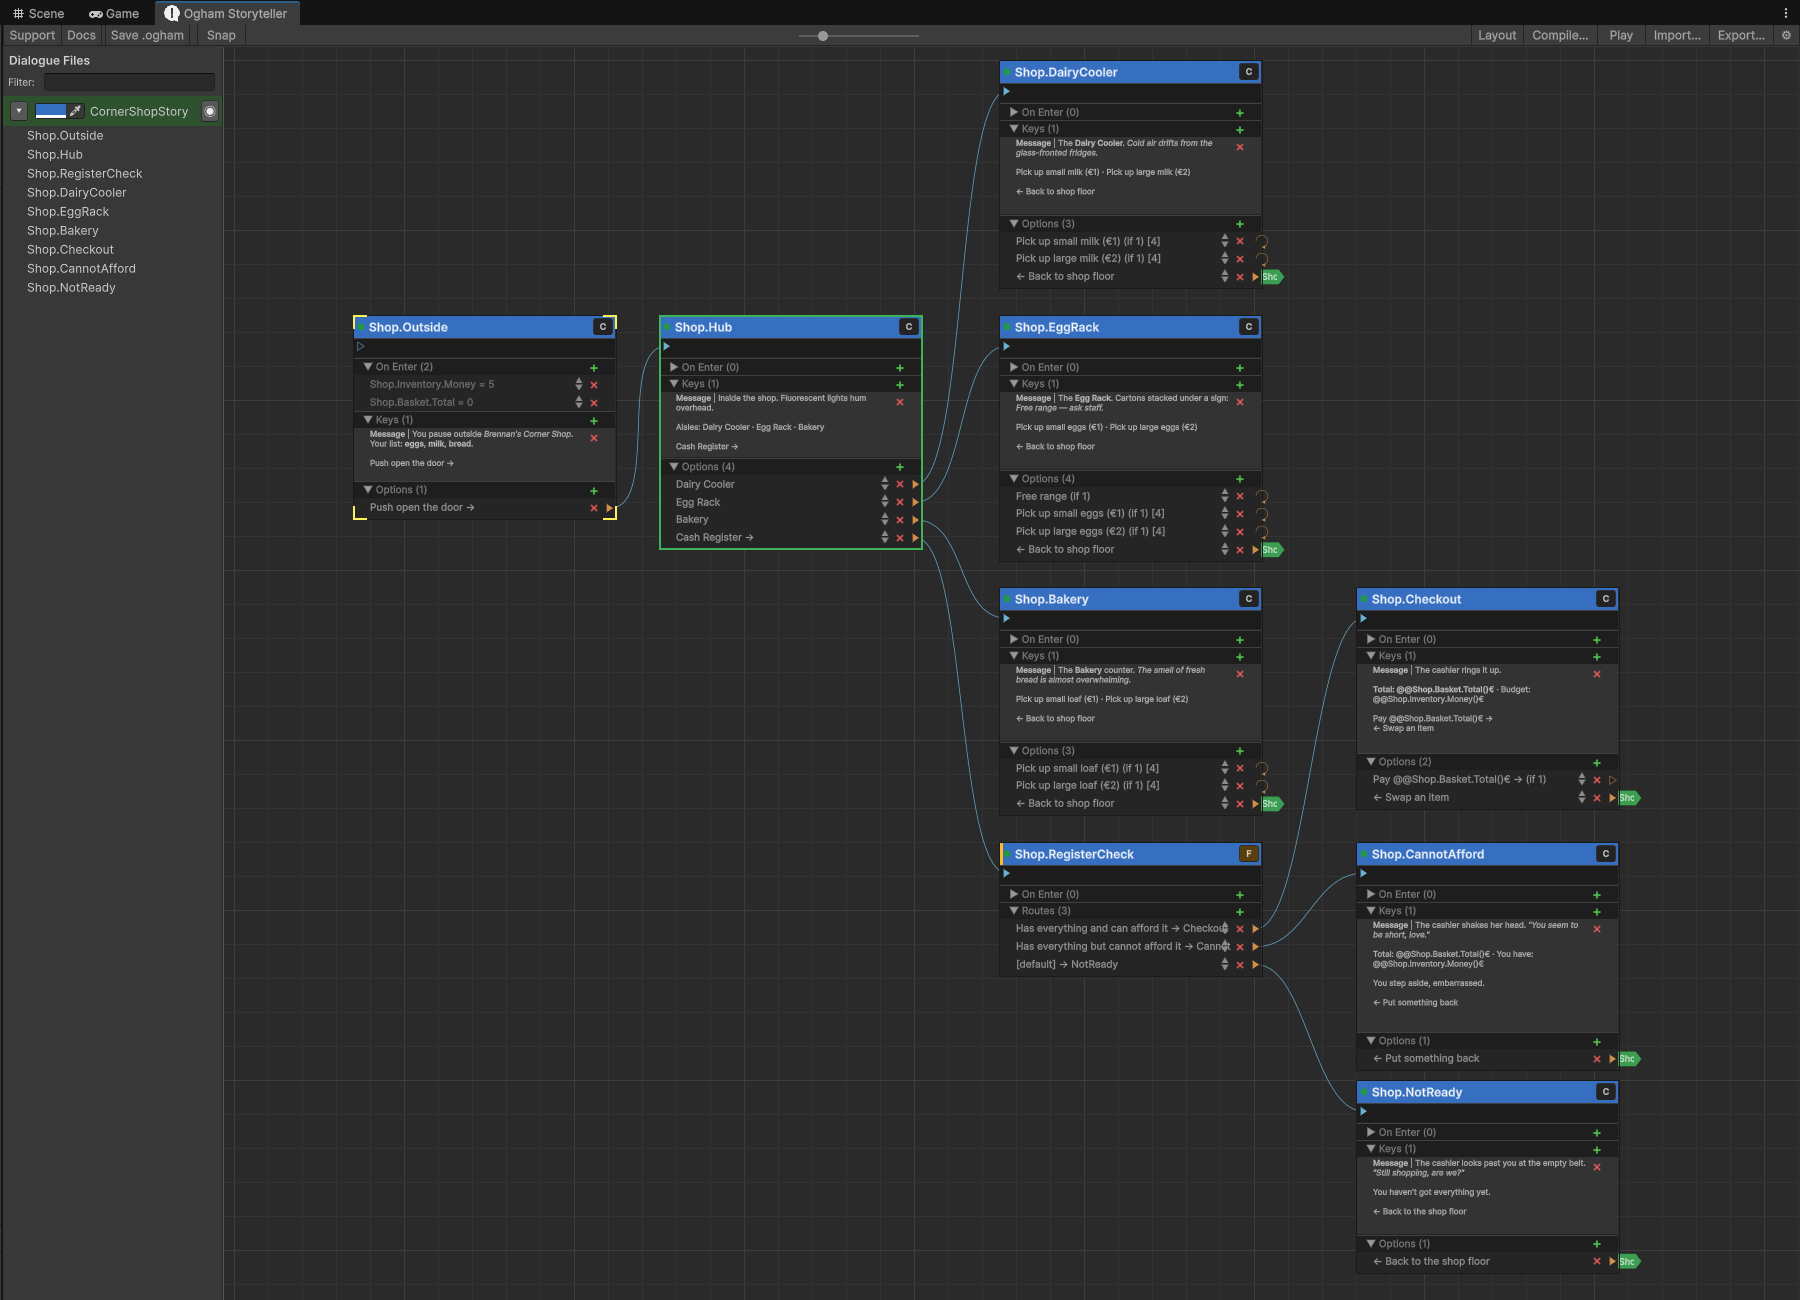
The Ogham Graph Editor is the primary authoring environment for Ogham Storyteller. It is a visual node graph tool that lives directly inside the engine editor, so writers and developers work in the same environment as the rest of the project with no round-trip to an external tool. Every story is represented as a directed graph of nodes connected by options; the graph is saved to a human-readable .ogham JSON file that is easy to version-control and review in a pull request diff.
The canvas supports multiple story assets loaded simultaneously, colour-coded per asset. Nodes can be annotated with highlight colours and labels, grouped with Trello-style label pills, connected with bezier wires or compact tab-flag jumps, and rearranged with a one-click auto-layout. An in-editor play window lets writers simulate the full story, including state variable interpolation and option conditions, without entering Play mode.
Getting Started #

Your first step is to create a Story, you can do this by right clicking in your asset folder and selecting Create > Ogham > Story. This will create a new .ogham file for you.
Open the Editor #
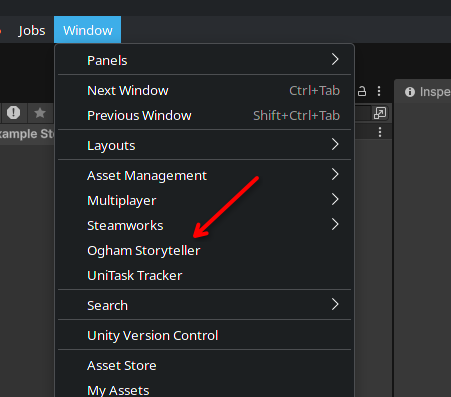
With one or more Story files ready you can open the Ogham Storyteller.
The Ogham Storyteller is a Node Graph based editor similar to Twine, ArticyDraft and other interactive narrative tools.
Best Practice #
An Ogham file aka “Story” contains the nodes and graph information for your narrative. You can have as many or as few as you like and node links can span across Ogham files so you don’t have to organism them by access or dependency.
This feature lets you break your games narrative up into region, character, topic or any other structure you like. The files them selves are simple JSON files and will work nicely with any source control or change management tool you may be using.
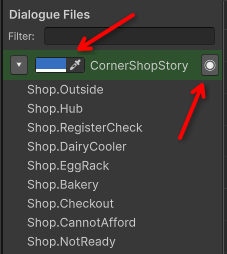
The Node Graph will show you every node in every story. You can color code “Stories” to easily visually differentiate them and you can toggle visibility on stories by using the Files view on the left side of the editor.
Add New Entry Node #
When you create a node you need to give it a name, this name is a Gameplay Tag. If the tag is new it will automatically be added to your gameplay tags settings.
This is also true for options, they are identified via a Gameplay Tag and if you type a new tag it will automatically be added to your gameplay tags settings.
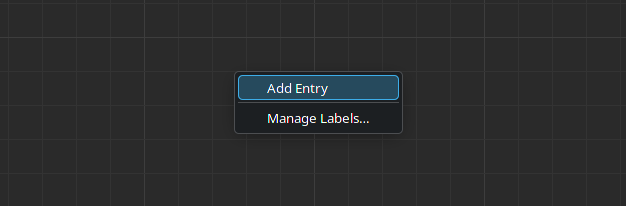
Right click in the graph and create your first node.
Once you have nodes and options you can create a new node by simply pulling off an option and drooping in the a clear space on the graph.
We have an article dedicated to Nodes and the key components features of the Node system.
Snap & Layout #
You can toggle snap mode, in this mode when moving nodes they will follow a strict grid pattern.
Layout can be pressed to automatically layout all of the nodes in the graph, this can be useful after import to de-tangle a large imported story.
Import #
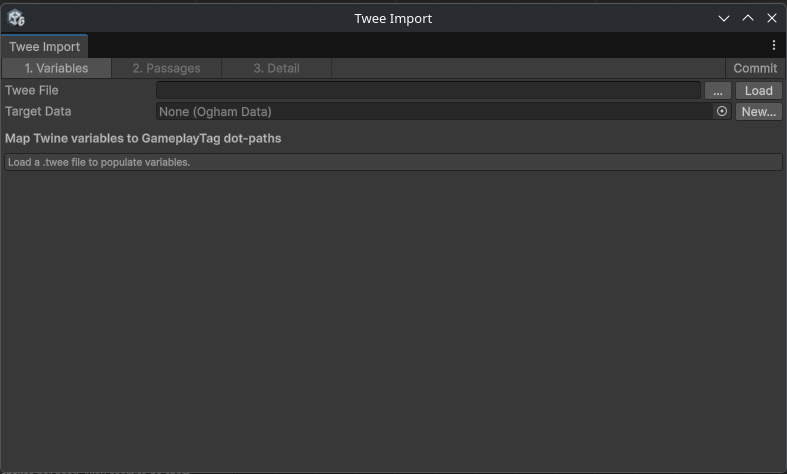
You can import a story from an existing Twine file aka a “Twee” file. This feature is in preview and only supports “SugarCube” additional import formats will be added as requested by the community. It is also possible to create your own Twee importer using the ITweeFormatParser interface, or create a non-Twee based importer using the IOghamImporter interface.
Play Testing #
So you have your story written but you haven’t tested it yet. We have you covered. In the upper right corner of the editor you will find a Play button. Click it and select the node you want to start from and it will simulate your story with full state.
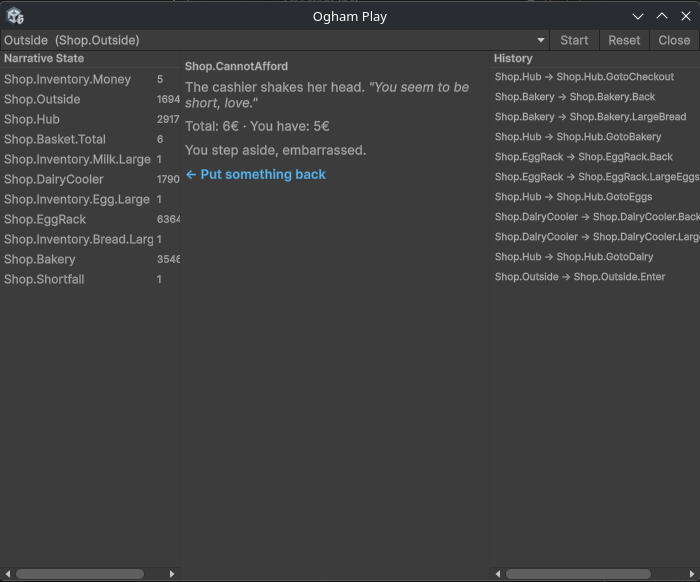
The Ogham Play window display’s your formatted text, obeys conditions and executes operations and displays the resulting state and history of your play through.
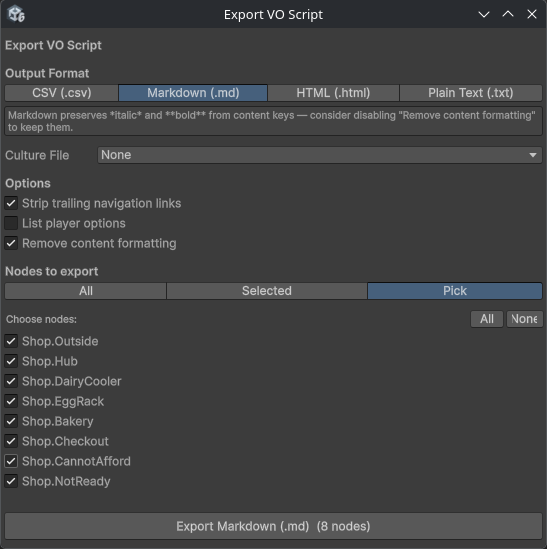
Export – Voice Over Script #
When its time to voice your story Ogham can help you produce a script suitable for your voice actors. Use the Export button in the upper right of the window and chose the export format.