🤖 Agent Prompt
Open your Project Settings and select Subsystems > Steamworks.
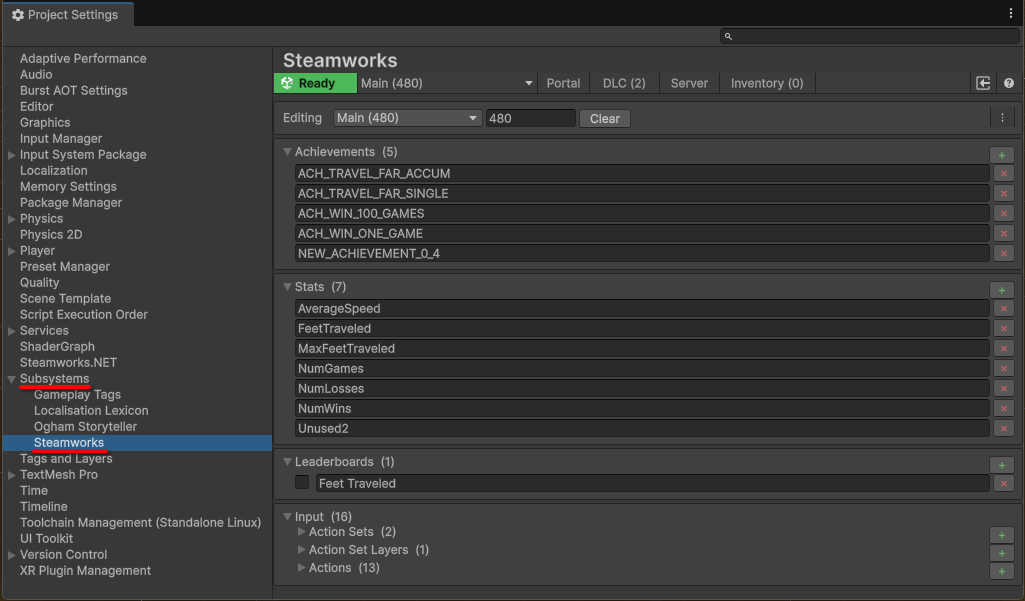
Active Application
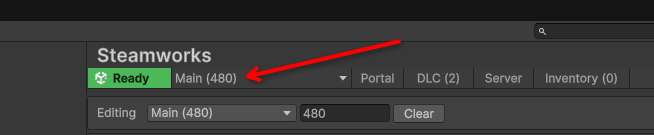
You — MUST — restart Unity & Visual Studio when changing your App ID (after previously initialising Steam). Why? This is a requirement enforced by Steam.exe. When you initialise Steamworks SDK, the Unity Editor itself and all of its related processes are considered by Steam.exe to be “The Game” … and you are considered “Playing” until all of that closes out of memory. Thus, you cannot change the initialised App ID without fully restarting Unity.
Force-closing Steam.exe will close Unity. You — MUST — restart Unity & Visual Studio when changing your App ID (after previously initialising Steam). This is not something you can reliably get around.
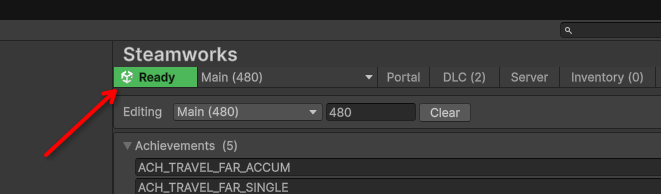
This indicates which Steam Application is active at the moment. By Default, the system will have at least the “Main” and “Demo” applications. This will set a “Scripting Define Symbol” in your Player settings for the selected app ID.
This definition is used in generated code to handle initialisation and access to artifacts such as achievements, stats and leaderboards and can be used in your own code when you have logic that should only apply to 1 of your application IDs.
For Example:
#if APP480
// code that will only compile when APP480 is active
#else
// code that will only compile when APP480 is not active
#endif
Editing
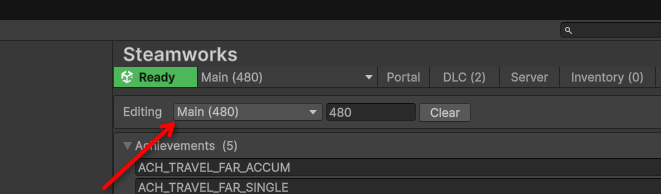
With any Steam project you will have at least 2 App IDs … Main being your primary app ID, the one you paid your Steam App Credit fee for, and Demo an app ID allocated when you set up your game’s demo. You may also set up as many “playtest” apps as you need. You can select which App ID your editing by changing the Editing drop down.
Application ID
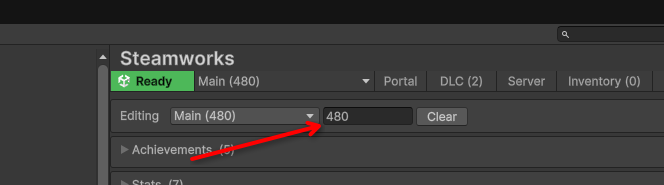
You should “Generate Wrapper” any time you change this value.
This is where you set the ID for this application. Note that changing the value of the Active Application will cause Unity to recompile, as that is also changing the Scripting Define Symbol.
Generate Wrapper
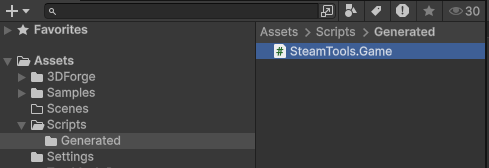
Pressing this button will read your current configuration and generate the SteamTools.Game static class. This class is what empowers our components, tools and your programmers. It encapsulates all of your configurations and respects the “Active Application”, greatly simplifying how you work with Steam even in a multiple-application project, which most will be.
The later articles go into more detail, but for example, you can access a given achievement anywhere in your game logic via its name.
Spacewars Example:
SteamTools.Game.Achievements.ACH_TRAVEL_FAR_ACCUM.Unlock();Downloadable Content
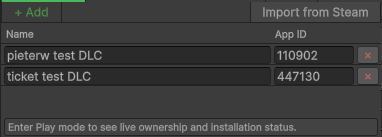
Click the DLC button and either import or manually enter your DLC. Keep in mind you can only import while simulation is running as Steamworks SDK must be intialised for this to work.
To do this
- You will need to set your App ID,
- Then, in the editor, press play and initialise Steamworks.
- With your game running and Steamworks initialised, you can click “Import”.
- You can now stop the simulation and regenerate your wrapper to add the DLC data.
Steam Game Server Configuration
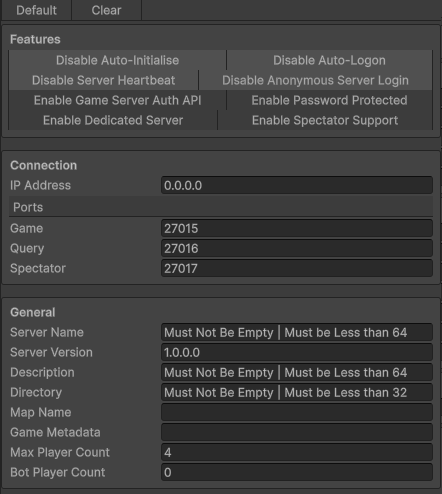
Only used if you plan on shipping a “Dedicated Server” build. This configuration allows your dedicated servers to initialise the Steamworks SDK even without a Steam.exe instance logged in and running. You can learn more in the Steam Game Server article.